Fix That Faucet: A DIY Guide to Stopping Leaks


Why Every Drop Counts: The Real Cost of a Dripping Faucet
Faucet leak repair is a common and rewarding DIY project. Here's what you need to know:
Quick Fix Guide:
- Turn off water supply valves under the sink
- Remove the handle (method depends on faucet type)
- Replace worn parts - washers, O-rings, or cartridges
- Clean mineral buildup from valve seats
- Reassemble carefully without overtightening
- Test for leaks before calling it done
That constant drip, drip, drip isn't just annoying—it's costly. A small faucet leak can waste over 1,000 gallons of water per year, which is money literally going down the drain.
The good news? Most faucet leaks are caused by simple worn-out parts like a deteriorated rubber washer, a damaged O-ring, or a faulty cartridge. These repairs typically cost under $20, take less than an hour, and require only basic tools.
A leaky faucet is a constant reminder of wasted water and money. With the right approach, you can stop that drip and gain the satisfaction of fixing it yourself.

Understanding Your Faucet and the Leak
Before grabbing your tools, understanding what causes a leak and your faucet type is key to a smooth faucet leak repair.
Common Causes of a Leaky Faucet
That annoying drip is usually the result of normal wear and tear on your faucet's internal parts, which deal with constant water pressure and mineral deposits day after day.
- A worn-out washer or O-ring is the most common culprit. These rubber seals create a watertight barrier but can harden, crack, or wear out over time, causing a persistent drip.
- A corroded valve seat is another frequent issue. This is the surface where the washer sits to stop water flow. Mineral deposits from hard water can create a rough surface that prevents a proper seal.
- In newer, single-handle faucets, a faulty cartridge is often the cause. These cylindrical components control water flow and temperature, and their internal seals can deteriorate.
- Mineral deposits from hard water can also interfere with smooth operation and proper sealing. Sometimes, a good cleaning is all that's needed.
Identifying Your Faucet Type
Knowing your faucet type is crucial, as each has a different repair approach.
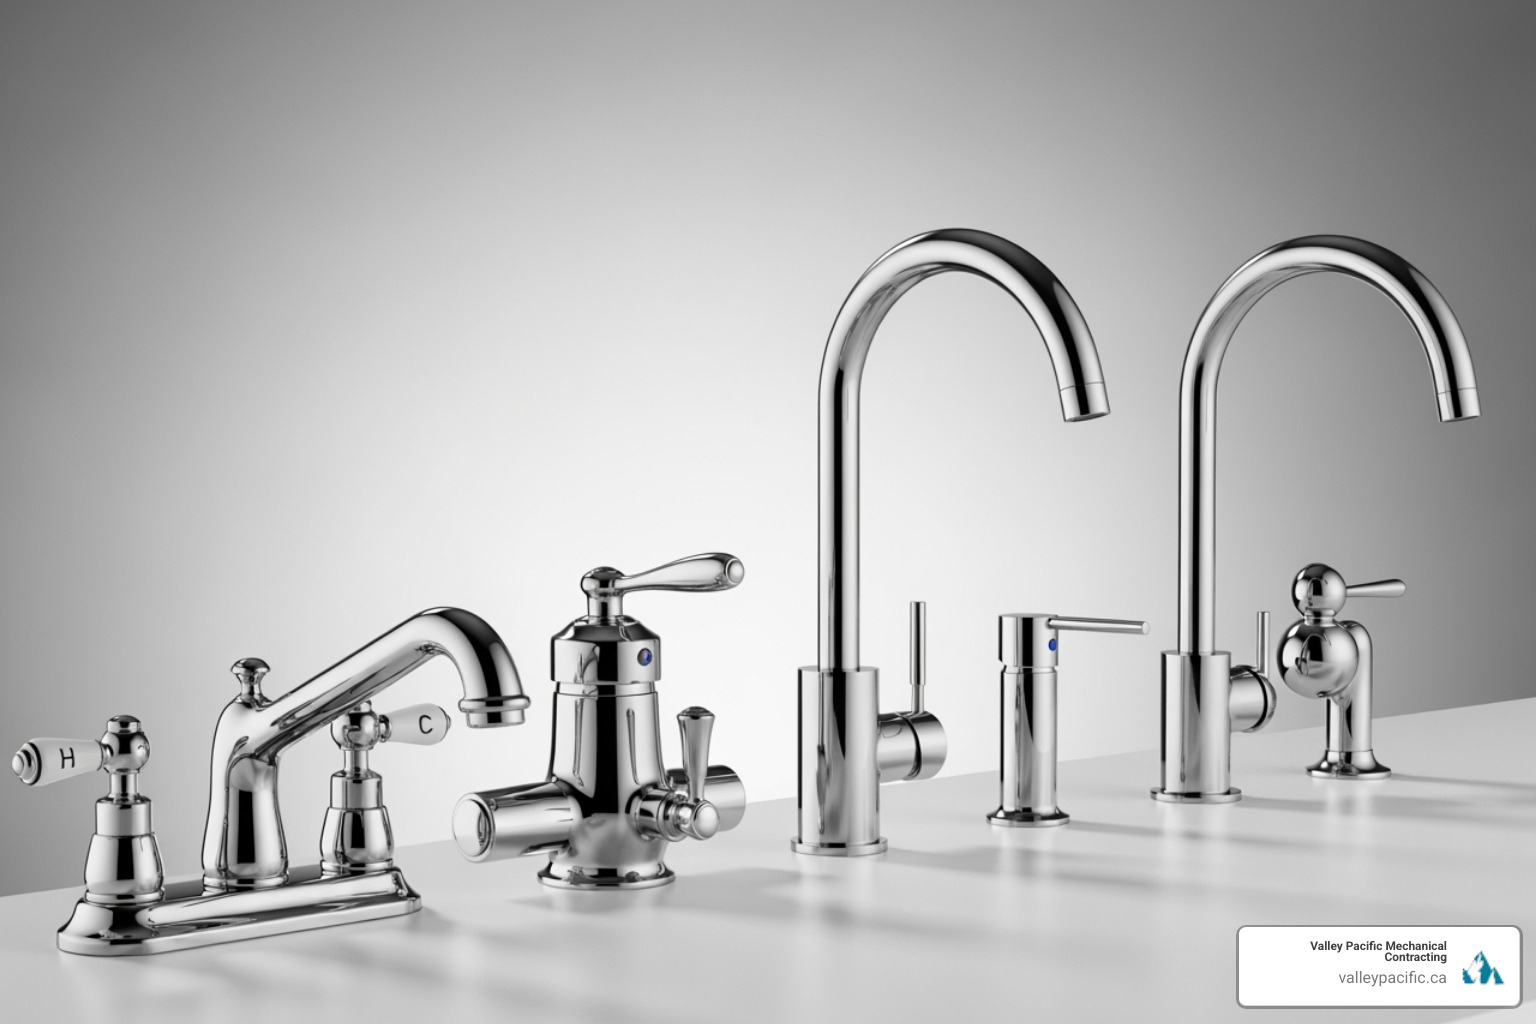
- The compression faucet has two separate handles for hot and cold water. These use a rubber washer that gets compressed against a valve seat to stop water flow and may need more frequent washer replacements.
- Cartridge faucets come in single-handle and two-handle versions and use a cylindrical cartridge to control water. They are generally reliable and operate smoothly.
- The ceramic disk faucet is a durable, modern single-handle design. It uses two ceramic disks that slide against each other and is designed to be virtually drip-free.
- Ball-type faucets are single-handle faucets, often found in kitchens, with a rotating ball mechanism. They have more moving parts that can require attention.
Pinpointing the Source of the Leak
Where your leak is happening can tell you what's wrong inside.
- A leak from the spout when the faucet is off usually points to a problem with the main sealing mechanism. In compression faucets, it's typically a worn seat washer; for other types, it's the cartridge or internal seals.
- Water seeping from the handle base usually indicates a problem with the O-rings or the stem assembly, which is common in cartridge faucets.
- A leak from under the sink means you should check the supply line connections and any pull-out spray hoses. The issue might be the connections, not the faucet itself.
- Noting if the leak is hot or cold water can help you identify which side of a two-handle faucet needs repair.
Understanding these leak patterns saves time. For more comprehensive information about water leak detection throughout your home, more info about water leak detection can help you spot other potential issues.
Gearing Up for Your Faucet Leak Repair
Proper preparation is the key to a smooth and successful faucet leak repair.
Essential Tools and Materials
The beauty of faucet leak repair is that you don't need a garage full of expensive tools. Most of what you'll need might already be in your toolbox.
- Adjustable wrench and a set of pliers (slip-joint, needle-nose).
- Phillips and flat-head screwdrivers and an Allen wrench set.
- Rags or towels for cleanup and protecting surfaces.
- Plumber's grease (silicone-based) for lubricating new O-rings and threads.
- Replacement parts (washers, O-rings, or a cartridge) specific to your faucet.
- You might also need penetrating oil for corroded parts or a valve-seat dresser for compression faucets.
Pre-Repair Preparation Steps
These simple steps will prevent major headaches and water messes.
Shut off the water supply first. Turn the hot and cold water valves under the sink clockwise until they're completely closed. If you can't find these or they don't work, you'll need to turn off your home's main water supply.
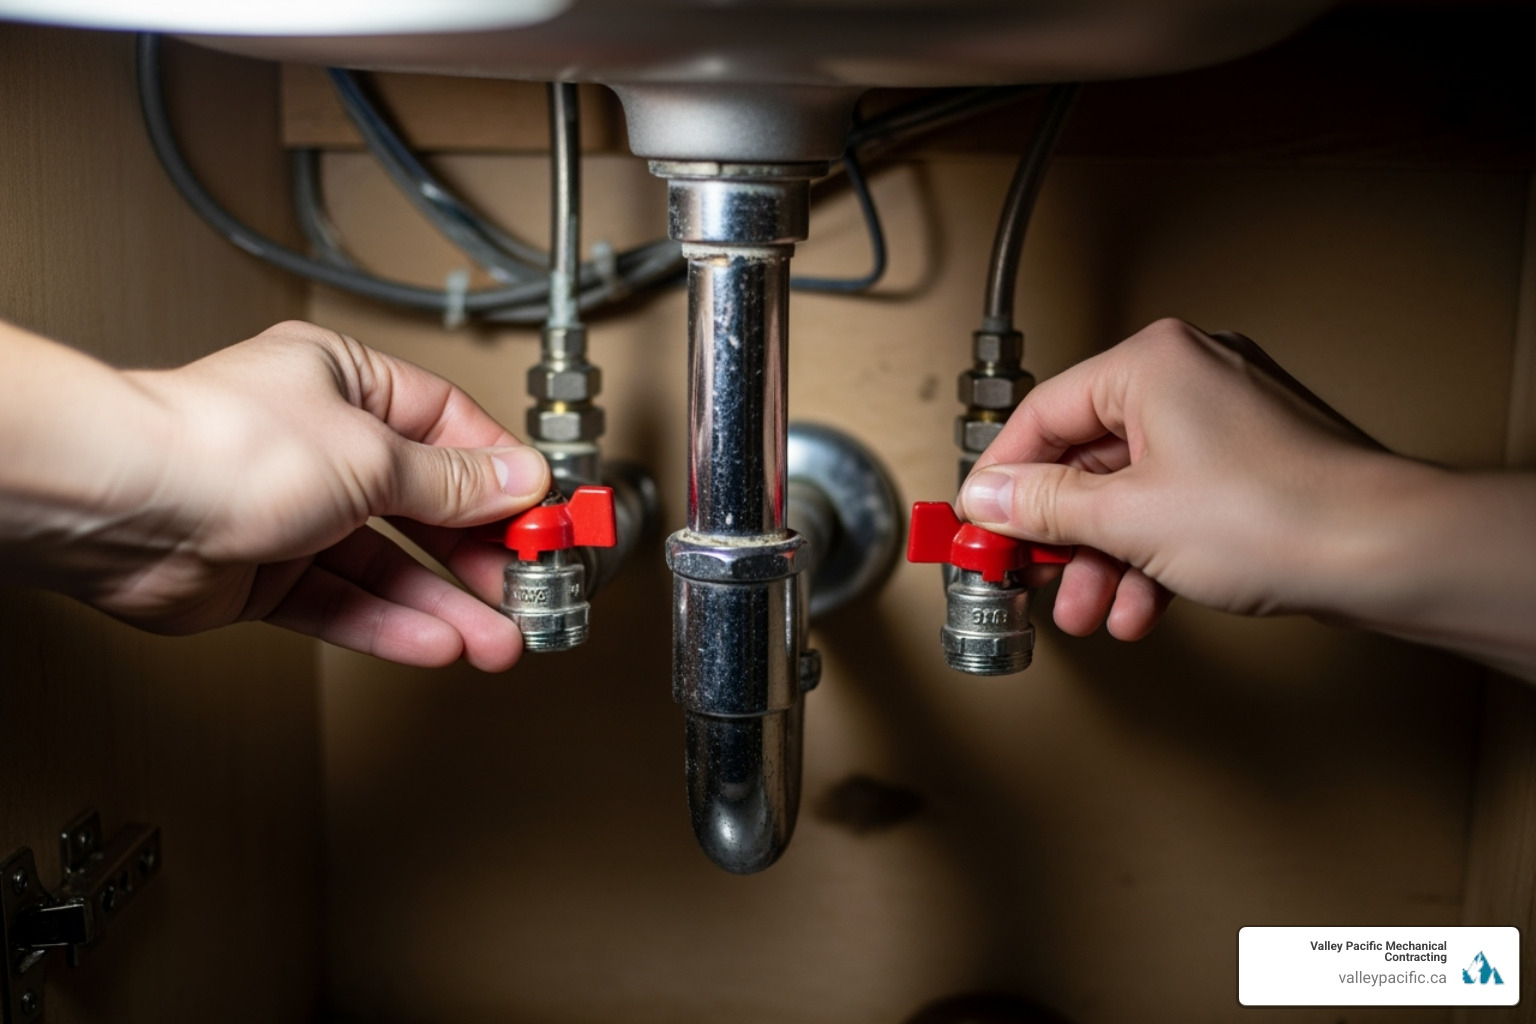
Once the water is off, drain any remaining water by turning on the faucet. Next, plug the sink drain with a stopper or rag to prevent losing small screws and washers.
Finally, protect your surfaces with rags in the sink basin and on the countertop. Wrap shiny faucet parts with tape before gripping them with a wrench to prevent scratches.
Finding the Right Replacement Parts
Getting the wrong replacement part is a common mistake that will prevent a successful repair.
The foolproof method is to take the old parts to the store with you. Remove the worn washer, O-ring, or cartridge and bring it to your local hardware store. The staff can help you find an exact match for size and material.
If you know your faucet model number, you can often find detailed parts diagrams on the manufacturer's website. Look for the model number on the original packaging, a sticker under the sink, or etched into the faucet body.
Stick with genuine replacement parts when possible. They are designed specifically for your faucet and typically last longer, ensuring your faucet leak repair is successful for years to come.
Step-by-Step: How to Fix a Leaky Faucet
Now for the actual faucet leak repair. Each faucet type has its own repair process, so follow the steps for your specific situation.
Repairing a Compression Faucet (Washer & Seat)
These classic faucets have separate hot and cold handles. A dripping spout usually means a worn washer.
First, remove the handle by prying off the decorative cap and unscrewing the handle screw. Next, use an adjustable wrench to unscrew the packing nut below the handle, then pull the entire stem assembly straight out. At the bottom of the stem, you'll find the seat washer held by a screw. Unscrew it and replace it with an exact match. While you're there, check the O-ring around the stem and replace it if it's worn, coating the new one with plumber's grease. Finally, inspect the valve seat inside the faucet body. It should be smooth; clean any mineral buildup or use a valve-seat dresser if it's pitted. Reassemble everything in reverse order, being careful not to overtighten. For additional guidance, you can find helpful resources like this one: Learn more about faucet leak repair steps.
Fixing a Cartridge Faucet
Common in single-handle designs, these leaks are usually caused by the cartridge itself.
Getting the handle off can require some detective work; look for a set screw on the side or under a decorative cap. Once the screw is removed, the handle should pull off. You'll then see the retaining mechanism—a nut, clip, or screws—holding the cartridge. Remove it carefully. Now, pull out the old cartridge firmly, using pliers if it's stubborn.
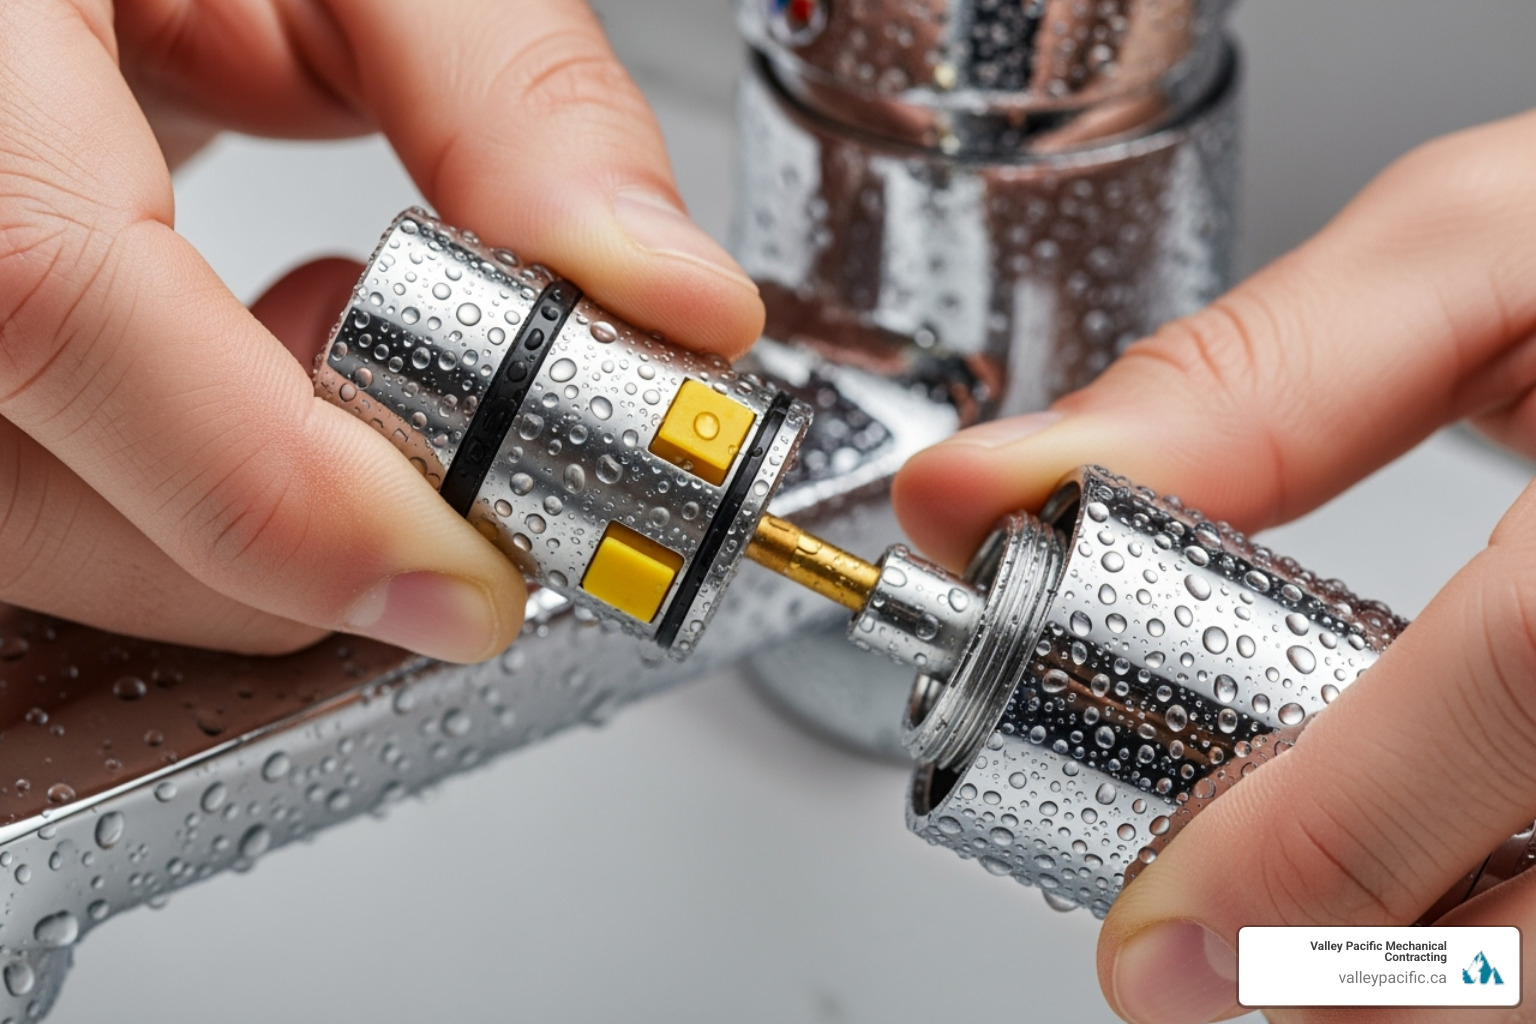
Before installing the new one, inspect any O-rings in the housing and replace if worn. Installing the new cartridge requires careful alignment; look for tabs or notches to ensure it goes in correctly. Push it firmly into place, replace the retaining hardware, and reattach the handle.
Mending a Ceramic Disk Faucet
These durable faucets usually leak due to worn seals, not the disks themselves.
Start by removing the handle and cap. There's typically a set screw hiding under a decorative cap. Once the handle is off, unscrew or lift off the dome-shaped escutcheon cap. The ceramic disk cylinder is held in place by mounting screws; remove these and lift out the cylinder. Look for the neoprene seals inside the cylinder or beneath it. These small seals are usually the source of leaks; gently pry out the old ones and replace them. While it's apart, clean the cylinder openings thoroughly with white vinegar to remove mineral deposits. Reassemble with care, ensuring proper alignment before tightening the screws.
Stopping a Ball-Type Faucet Leak
These single-handle kitchen faucets have more moving parts, but the repair is straightforward.
Remove the handle by finding the set screw, usually hidden under a cap. Next, use pliers (wrapped in a rag to protect the finish) to unscrew the cap and collar. Carefully lift out the cam and ball assembly. The crucial step is replacing the seats and springs inside the faucet body. Use needle-nose pliers to remove the small rubber seats and springs. To install the new ones, place a spring and seat on the tip of a pencil and lower them into position. When reinstalling the ball, make sure its slot aligns with the tab inside the faucet body. Replace the cam and cap, tighten by hand, then gently with pliers.
Finishing Touches and Pro Tips
You're in the home stretch! These final steps and expert tips will help ensure your faucet leak repair is successful and stands the test of time.
Reassembling Your Faucet Correctly
Think of reassembly like solving a puzzle in reverse - everything needs to go back exactly where it came from, but with a few key considerations that separate amateur fixes from professional-quality repairs.
Reverse the disassembly order you followed earlier, but don't rush through this step. Take your time to ensure each component fits snugly in its proper place. This methodical approach prevents the frustration of having to start over.
Here's where many DIYers go wrong: don't overtighten anything! While you want connections to be snug and watertight, overtightening is one of the fastest ways to create new problems. Stripped threads, cracked plastic components, and deformed washers can all result from being too aggressive with your wrench. The golden rule? Tighten until snug, then give it just a small extra turn.
Apply plumber's grease generously to new O-rings, rubber washers, and any internal moving parts. This isn't just about lubrication - it helps components seat properly and extends their lifespan significantly. A thin coat on threads also makes future repairs much easier.
Pay special attention to checking the alignment of parts like cartridges, ceramic disks, and ball assemblies. These components have specific tabs, slots, or keyways that must line up perfectly with the faucet body. Improper alignment is like trying to force the wrong puzzle piece - it might seem to fit, but it won't function correctly.
Tips for a Lasting Faucet Leak Repair
We want this faucet leak repair to be your last for a long time! These professional insights can make the difference between a quick fix and a permanent solution.
Using exact replacement parts cannot be overstated. Even parts that look "close enough" can fail quickly or cause new leaks. The few extra minutes spent ensuring you have the right component will save you hours of frustration later.
Clean all components thoroughly before reassembly. Those mineral deposits and that grimy buildup aren't just unsightly - they prevent new seals from creating perfect contact. A small brush, an old toothbrush, and white vinegar work wonders. Think of it as giving your faucet a fresh start.
While you have everything apart, inspect other components for signs of wear, corrosion, or pitting. If something looks questionable, replacing it now saves you from another repair session in a few months. It's like changing your car's air filter while you're already under the hood.
Test thoroughly for several minutes after reassembly. Don't just turn the water on for a quick check - run the faucet for several minutes, cycling it on and off, testing both hot and cold water. Watch closely for any drips or seepage around the handle and spout. Sometimes leaks take a few minutes to appear as water pressure builds up in the system.
When to Call a Professional Plumber
While faucet leak repair is often a rewarding DIY project, knowing when to call in the pros can save you time, money, and potential water damage.
Persistent leaks after repair are a clear signal that something more complex is happening. You might be dealing with a cracked faucet body, damage to internal components that aren't easily accessible, or issues with your home's water pressure that extend beyond the faucet itself.
Extensive corrosion or damage finded during disassembly often means you're looking at replacement rather than repair. Severely corroded components, stripped screws that won't come out, or a faucet body that's seen better days might be beyond a DIY fix.
If you're uncomfortable with the project at any point, there's no shame in calling for backup. A botched repair can lead to water damage, burst pipes, or other costly problems that far exceed the cost of professional service.
Intricate plumbing arrangements or custom faucets sometimes require specialized knowledge and tools that aren't worth purchasing for a one-time repair. Some older or high-end faucets have unique designs that can puzzle even experienced DIYers.
Signs you need a pro include leaks affecting other parts of your plumbing system, dealing with very high water pressure, or suspecting hidden pipe damage. These situations often require diagnostic skills and tools beyond typical homeowner resources.
For residents in the Lower Mainland dealing with complex plumbing issues, Valley Pacific Mechanical Contracting brings over 30 years of expertise to every job. We offer 24/7 emergency service and specialize in providing a headache-free experience for homeowners in Mission, Maple Ridge, Langley, Pitt Meadows, and Coquitlam. Learn more about our plumbing services in Maple Ridge BC.
Frequently Asked Questions about Faucet Leaks
We've covered the nuts and bolts of faucet leak repair, but let's tackle some questions that homeowners ask us all the time. These answers might just surprise you!
How much water does a leaky faucet really waste?
That innocent little drip is actually a sneaky water thief! A single drip per second can waste over 3,000 gallons per year, which is enough water for more than 180 showers. Just imagine - that's like taking a shower every other day for an entire year, all from one tiny drip!
Here's what really gets us: most people think a slow drip isn't worth worrying about. But that steady trickle can add $35 or more to your annual water bill. Multiply that by a few leaky faucets around the house, and you're looking at real money going straight down the drain.
Beyond your wallet, there's the environmental impact. Water is precious, and wasting thousands of gallons annually affects our local water supply and conservation efforts. It's one of those small fixes that makes a big difference.
What is the most common reason a faucet starts dripping?
Nine times out of ten, it's simply worn-out internal parts doing what old parts do - giving up! Think of it like the tires on your car - they work great until they don't.
In older compression faucets with separate hot and cold handles, the rubber washer is usually the culprit. These little rubber seals get hard and cracked over time, losing their ability to create that perfect watertight seal against the valve seat.
For modern single-handle faucets, we typically see issues with deteriorated O-rings or a faulty cartridge. The cartridge is like the heart of your faucet - when it starts failing, you'll notice leaks around the handle or inconsistent water flow.
What causes this wear? Just normal life! Constant water pressure, mineral deposits from hard water, and daily use all take their toll. The good news? These parts are designed to be replaced, and most faucet leak repair jobs are totally doable for the average homeowner.
Is it a good idea to replace the whole faucet instead of repairing it?
Sometimes throwing in the towel and getting a shiny new faucet is actually the smarter move! Replacement makes sense when your faucet is old, severely corroded, or if you've tried multiple repairs without success.
Here's our rule of thumb: if the faucet body itself is damaged, if you're dealing with extensive mineral buildup that won't clean off, or if the finish is beyond saving, replacement is probably your best bet. A new faucet can also improve water efficiency and give your kitchen or bathroom a fresh, updated look.
But don't rush to replace if you haven't tried a simple repair first! Most leaks are caused by inexpensive parts that cost under $20 to replace. If your faucet is relatively new and in good shape overall, faucet leak repair is usually the way to go.
The sweet spot? If you're planning a kitchen or bathroom renovation anyway, that's the perfect time to upgrade to a more efficient, stylish model. Otherwise, a quick repair will likely solve your dripping problem and save you money.
Conclusion
There's something deeply satisfying about silencing that annoying drip, drip, drip once and for all. Faucet leak repair isn't just about stopping the noise - it's about taking control of your home's efficiency and putting money back in your pocket.
By now, you've learned that most faucet leaks come down to simple worn-out parts that cost just a few dollars to replace. Whether you're dealing with a stubborn compression faucet from the 1980s or a sleek modern cartridge design, the principles remain the same: identify your faucet type, locate the source of the leak, and replace the right parts.
The best part? You've just saved yourself a service call and gained valuable DIY skills. Every time you turn that handle and hear blessed silence instead of dripping, you'll feel that little surge of pride that comes with fixing something yourself.
But let's be honest - not every plumbing project is a perfect DIY candidate. If you've followed our steps and that leak is still mocking you, or if you finded more extensive damage during your repair, there's no shame in calling for backup. Sometimes the most efficient solution is letting someone with three decades of experience handle the headache for you.
For homeowners in Mission, Maple Ridge, Langley, Pitt Meadows, or anywhere else in the Lower Mainland, our team at Valley Pacific Mechanical Contracting specializes in turning plumbing frustrations into headache-free experiences. We're available 24/7 because we know plumbing problems don't wait for business hours. Learn more about our plumbing services in Maple Ridge BC.
While you're thinking about home efficiency improvements, don't forget that your heating and cooling system might need some attention too. A well-maintained home is an efficient home, and we can help with that as well. You can explore our heat pump installation services in Langley, BC to keep your entire home running smoothly year-round.
Whether you tackle the next drip yourself or give us a call, you're making a smart choice for your home and your wallet. Here's to dry faucets and lower water bills!


