Plumbing Prowess: Master Backwater Valves and More with This How-To


Why Shower Valve Replacement Is Essential for Your Home
Shower valve replacement is a common plumbing repair that can solve frustrating issues like sudden temperature changes or a persistent drip that wastes water. A new valve can transform your daily shower from an annoyance into a pleasure.
Quick Answer: Essential Steps for Shower Valve Replacement
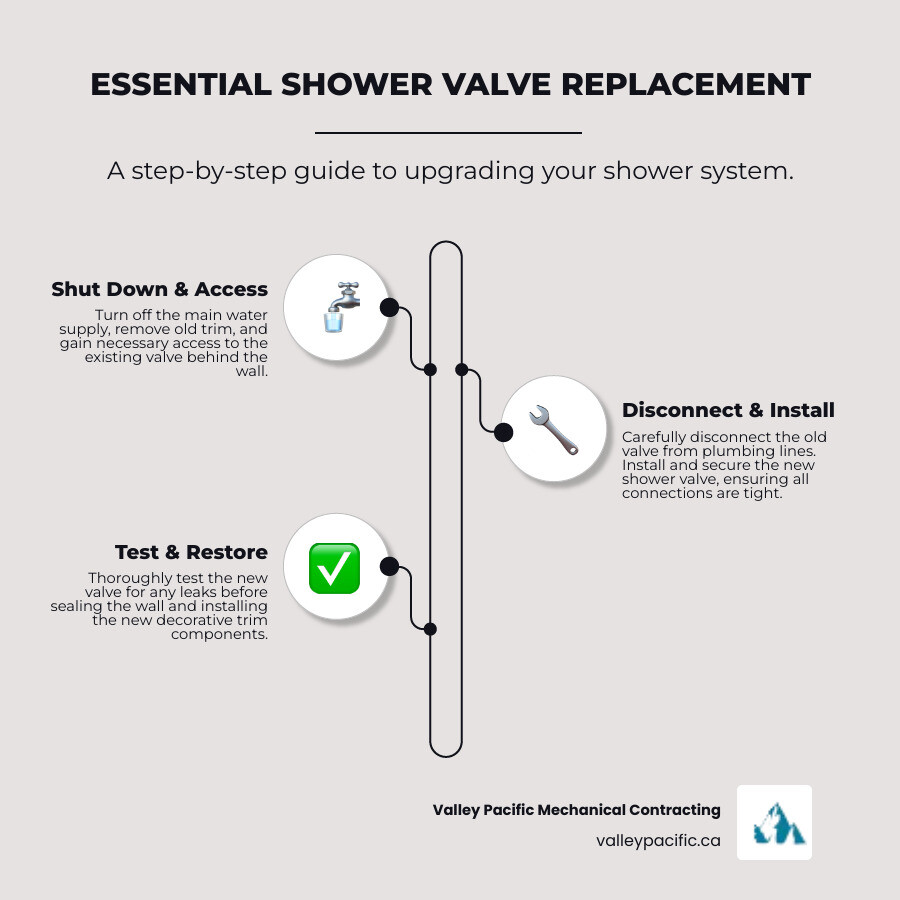
- Turn off water supply at the main valve or shower shutoffs
- Remove old trim (handle, escutcheon plate)
- Access the valve by cutting a wall opening if needed
- Disconnect old valve from supply lines
- Install new valve and reconnect plumbing
- Test for leaks before closing up the wall
- Install new trim and restore the wall surface
Most shower valve replacements take 2-4 hours and require intermediate plumbing skills, including potentially soldering copper pipes.
The valve hidden behind your wall is the heart of your shower system. It controls water flow, mixes hot and cold water, and includes safety features to prevent scalding. A failing valve can cause drips, stiff handles, or dangerous temperature swings.
Modern shower valves offer consistent water pressure, precise temperature control to prevent scalding, and reliable operation that can last for over a decade with proper maintenance.

Shower valve replacement terms to remember:
Understanding Your Shower System
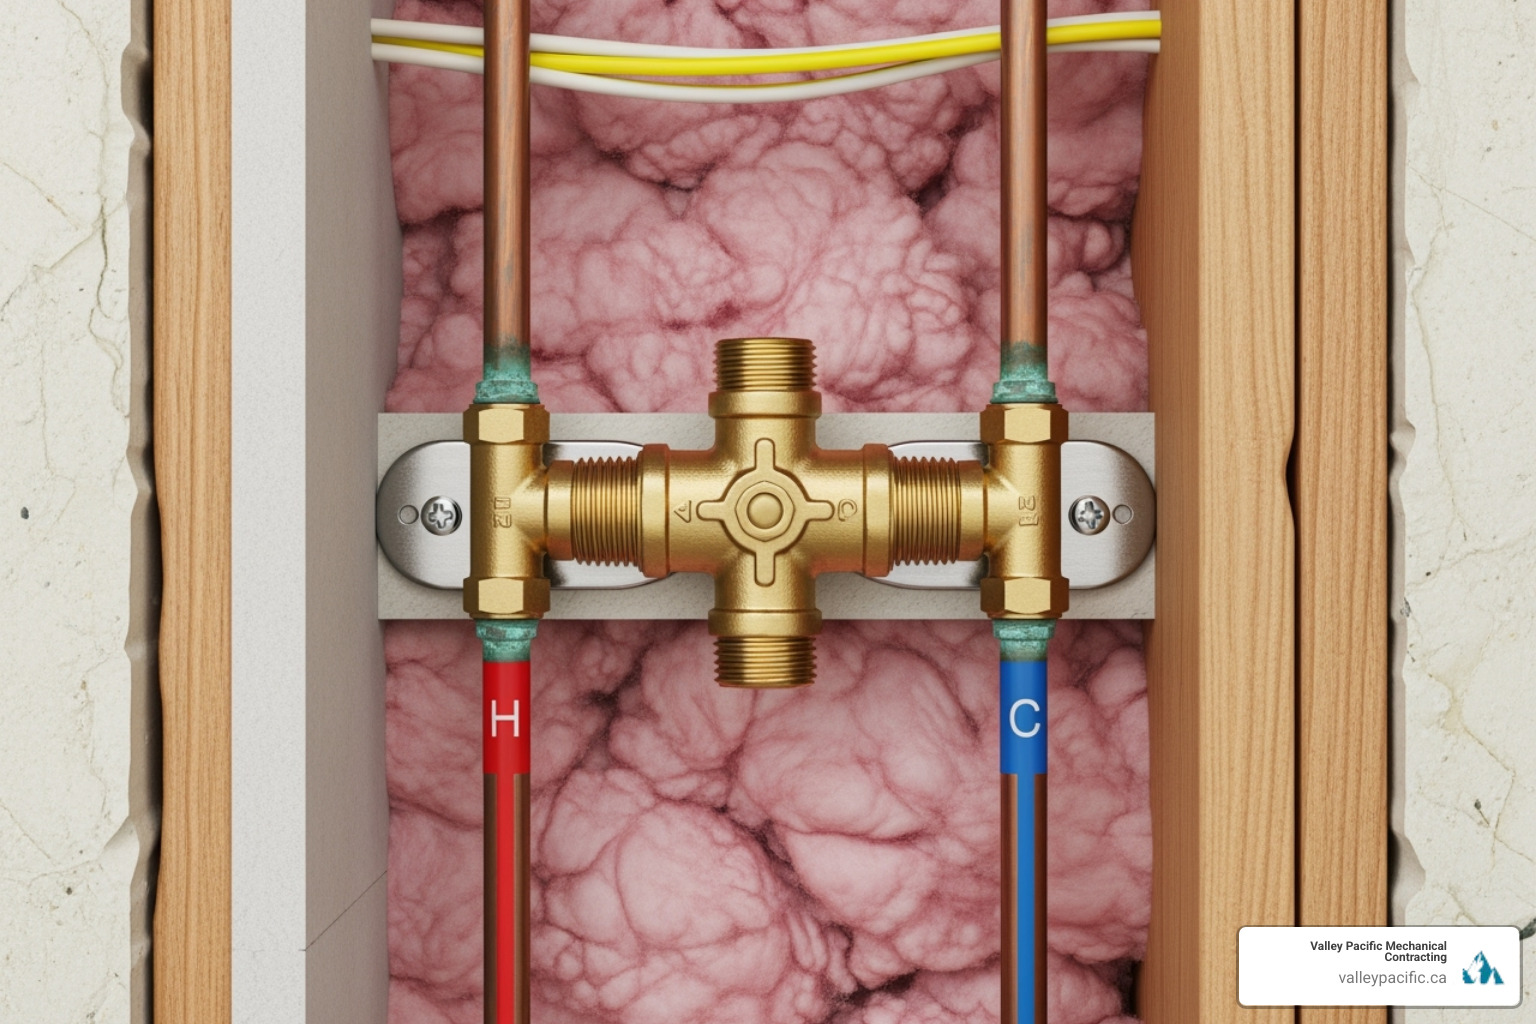
Your shower valve is the component hidden in the wall that blends hot and cold water to the perfect temperature. Modern valves do more than just mix water; they act as safety guards, preventing shocking temperature spikes. They manage water flow control and water temperature regulation, often with built-in anti-scald protection. This feature maintains your chosen temperature even when a toilet is flushed or a dishwasher starts elsewhere in the house.
In a shower-only system, the valve focuses on temperature and pressure. For a tub/shower combo, the valve also includes a diverter to switch water flow between the tub spout and the showerhead. Understanding this is key when planning a shower valve replacement.

Key Signs You Need a Shower Valve Replacement
Your shower valve works hard and will eventually show signs of wear. Catching these signs early can prevent bigger problems and water damage.
- Dripping Faucet: A constant drip from the showerhead when it's off means you have worn internal seals or a failing cartridge. This wastes water and increases your utility bills.
- Stiff Handle: If the handle is hard to turn, it's a sign of mineral buildup, corrosion, or worn internal parts. Adjusting your shower should be effortless.
- Sudden Temperature Changes: If water temperature fluctuates wildly from hot to cold, the valve's pressure-balancing system is failing. This is a safety hazard, especially for children and the elderly.
- Low Water Pressure: A clogged or failing shower valve can restrict water flow, turning your shower into a disappointing trickle.
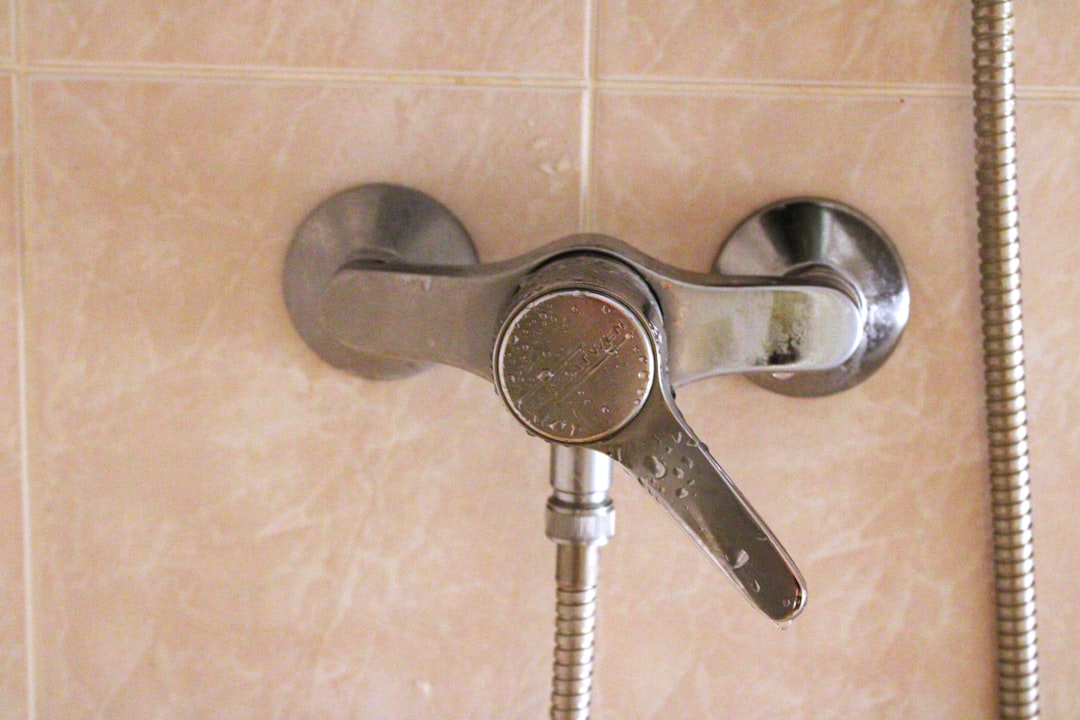
- Visible Corrosion: Rust or mineral deposits on the handle or trim plate often indicate that the hidden components behind the wall are also deteriorating.
- Strange Noises: Humming, whistling, or banging sounds when you use the shower can point to loose parts or other mechanical issues that a shower valve replacement can fix.
Addressing these issues promptly can prevent a minor annoyance from becoming a major plumbing emergency.
Types of Shower Valves and How to Choose
Choosing the right valve is simpler when you understand the main types available.
Pressure-balancing valves are the most common type in modern homes. They automatically adjust to pressure changes to maintain a consistent water temperature, preventing scalding when water is used elsewhere.
Thermostatic mixing valves are a premium option that allows you to set an exact temperature. They automatically adjust the hot and cold water mix to maintain that temperature, offering superior safety and convenience.
Diverter valves are necessary for tub/shower combinations. They direct water flow between the tub faucet and the showerhead. When replacing a valve in a combo unit, ensure the new one has an integrated diverter or is compatible with a separate one.
Transfer valves are used for custom showers with multiple outlets, like body sprays or rain showerheads. They allow you to direct water to different fixtures simultaneously or individually.
Universal valve bodies offer flexibility for future upgrades. They accept different types of cartridges, allowing you to change your shower's trim and function without another full shower valve replacement.
Understanding the difference between rough-in kits and trim kits is crucial. The rough-in kit is the valve body installed behind the wall. The trim kit includes the visible parts like the handle and decorative plate. If the valve body is failing, you'll need a complete rough-in shower valve replacement.
Your choice will depend on your budget, desired features, and existing plumbing. Modern building codes often require specific safety features. For guidance, you can learn more about plumbing codes and standards or consult a professional to ensure your installation is compliant.
Your Step-by-Step Guide to Shower Valve Replacement
A shower valve replacement is a manageable DIY project for those with some plumbing experience, but preparation and safety are key. This project is about creating a safer, more comfortable shower experience.
Safety is your top priority. Always wear safety glasses and work gloves. The first and most critical step is shutting off your water supply. Look for dedicated shut-off valves for the shower; if you can't find them, turn off your home's main water supply. After shutting off the water, open a faucet on a lower level to drain the pipes.
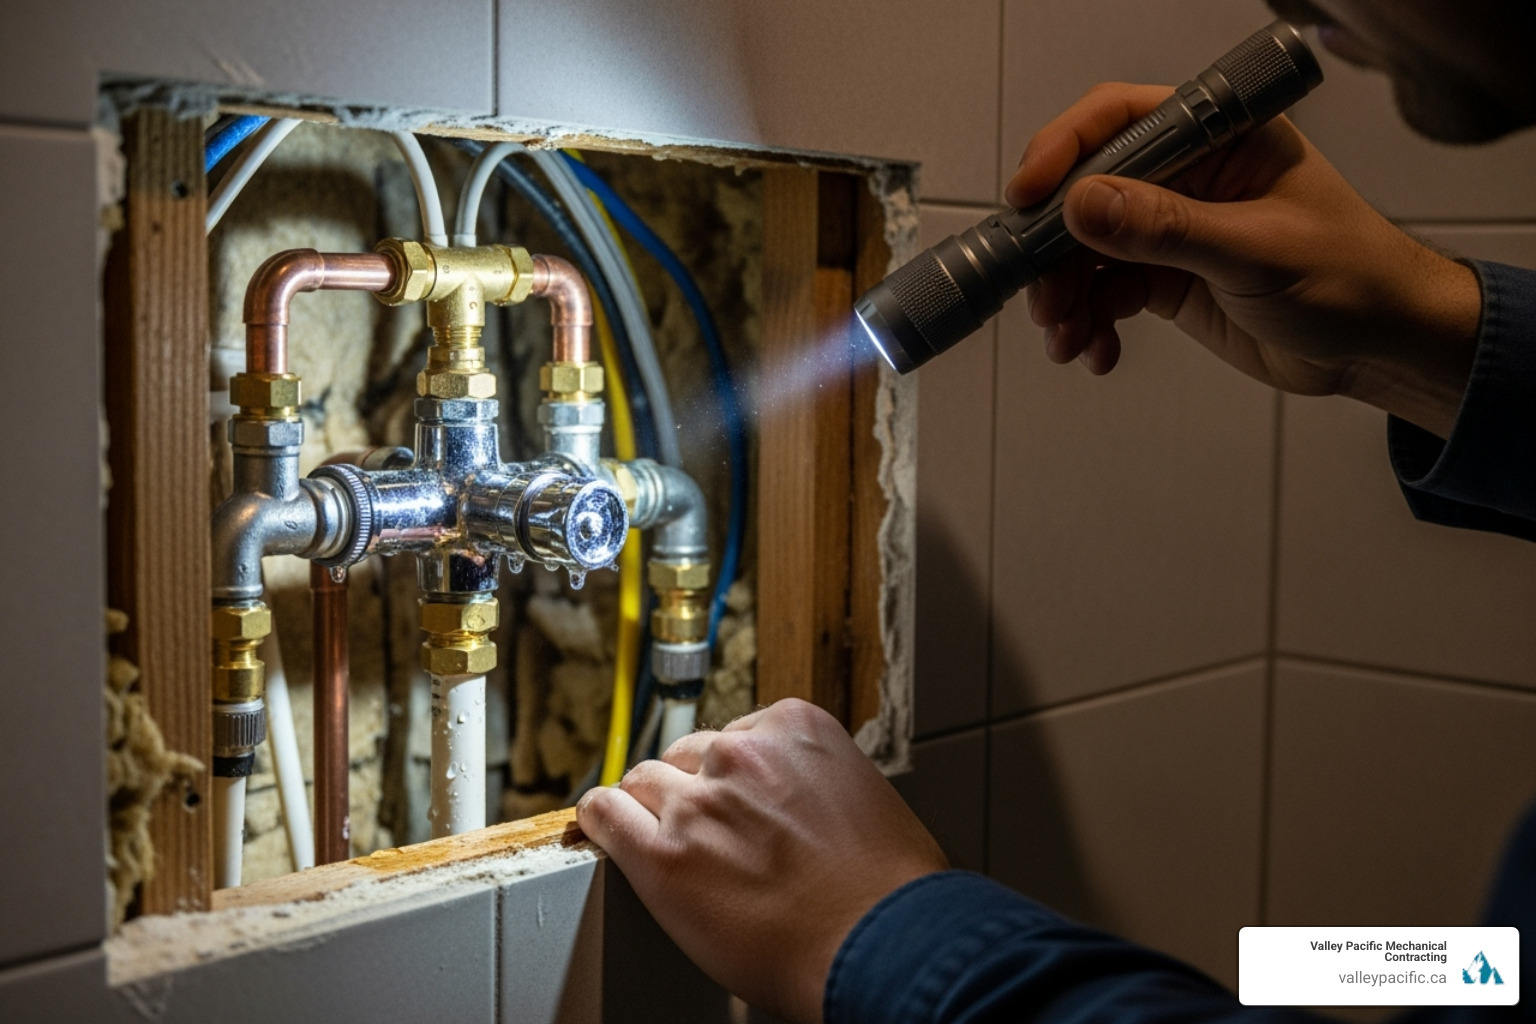
Accessing the valve usually requires cutting an opening in the wall. A 12x12-inch opening on the wall opposite the shower is often recommended for adequate workspace. If you have an older home, consider having the wall material tested for asbestos before cutting.
While this can be a DIY project, be honest about your skill level. If you're not comfortable soldering copper pipes, it's wise to call professionals like us at Valley Pacific Mechanical Contracting.

Gathering Your Tools and Materials
Gathering all your tools and materials beforehand will prevent mid-project trips to the hardware store. Lay down a blanket to protect your tub or shower base.
Your essential toolkit should include:
- Adjustable and pipe wrenches
- Phillips and flathead screwdrivers
- Allen wrench set
- Plumber's tape (Teflon tape)
- Pipe cutter
- Soldering torch, lead-free solder, and flux (for copper pipes)
- The new shower valve and trim kit
- Towels and a bucket
- Safety glasses and work gloves
- Needle-nose pliers
- Utility knife
- Caulk and a caulk gun
The Replacement Process: From Old to New
With your water off and lines drained, you can begin the replacement.
- Remove the Old Trim: Locate and remove the screws on the handle, which are often hidden under a decorative cap. You may need an Allen wrench for set screws. Unscrew the escutcheon (trim plate), cutting through old caulk if necessary.
- Access and Disconnect the Old Valve: After cutting your access panel, identify the connections to the hot and cold supply lines, showerhead, and tub spout. For threaded connections, use wrenches to unscrew them. For soldered copper, heat the joint with a torch until the solder melts and you can pull the valve free. Be careful not to damage surrounding materials.
- Install the New Valve: Securely mount the new valve body at the correct depth so the trim will sit flush against the finished wall. Connect the water lines. For PEX piping, use thread tape and ensure crimp fittings are secure. For copper, clean, flux, and solder each joint. Remove any plastic or rubber parts from the valve before soldering.
- Test for Leaks: This is a critical step. Slowly turn the water supply back on and carefully inspect every connection for drips. A paper towel can help detect even the smallest leak. If you find one, turn the water off, drain the lines, and fix the connection.
- Install New Trim and Repair Wall: Once you're leak-free, install the new cartridge, escutcheon plate, and handle. Apply a bead of caulk around the plate for a watertight seal. Install the new showerhead and tub spout, using plumber's tape on all threaded connections. Finally, repair the access hole in your wall, then patch, prime, and paint.
After the Installation: Troubleshooting Common Issues
After your shower valve replacement, perform post-installation checks by running the shower and testing the temperature controls. Minor issues are common and often have simple fixes.

Common Issues After a Shower Valve Replacement
Most post-installation challenges have straightforward solutions.
- Low Pressure: This is often caused by shut-off valves that aren't fully open or debris lodged in the new cartridge or showerhead. Check your valves first, then remove and clean the showerhead.
- Leaks from Connections: Most leaks come from connections that need more tightening or improperly seated seals. Turn off the water, then check that threaded connections are snug (but not over-tightened) and that O-rings are seated correctly. A leaky solder joint may need to be reheated and have more solder applied.
- Incorrect Hot/Cold Orientation: If your hot and cold are reversed, the cartridge was likely installed backward. Turn off the water, remove the trim, and reorient the cartridge according to the manufacturer's instructions.
- Diverter Not Working: If water comes from both the tub spout and showerhead, check that the diverter mechanism moves freely and is not blocked by debris.
- Strange Noises: Humming or whistling can indicate loose components. Ensure the valve is securely mounted and all fasteners are tight.
If these steps don't solve the problem, it's time to call a professional.
Maintaining Your New Shower Valve
With simple maintenance, your new valve will provide years of reliable service.
- Regular Cleaning: Prevent mineral buildup by cleaning your showerhead and trim regularly. Soaking the showerhead in vinegar can dissolve deposits. Use mild cleaners on the trim to protect the finish.
- Check for Leaks: Periodically inspect around the trim plate for any signs of moisture. Catching small drips early prevents bigger problems.
- Check the Cartridge: The cartridge is the most likely part to wear out, especially with hard water. If you notice temperature control or flow issues, the cartridge is the first thing to check.
- Avoid Harsh Chemicals: Strong drain or tile cleaners can damage the internal seals and external finish of your valve and trim. Use them with care.
Frequently Asked Questions about Shower Valves
With over 30 years of experience, we've answered many questions about shower valve replacement. Here are some of the most common.
What is a shower diverter valve?
A shower diverter valve directs water to either the tub spout or the showerhead in a tub/shower combo. It's typically a lever on the tub spout or a separate knob on the wall. A failing diverter is a common issue, often resulting in water coming from both outlets simultaneously. This is an important consideration during a shower valve replacement for a combination unit.
What's the difference between a pressure-balancing and a thermostatic valve?
This is a key question about safety and performance.
- Pressure-balancing valves react to changes in water pressure. If a toilet flush causes cold water pressure to drop, the valve automatically reduces hot water flow to prevent scalding. They are an affordable and effective safety feature.
- Thermostatic valves react to temperature. You set a precise temperature, and the valve constantly adjusts the hot and cold water mix to maintain it, regardless of pressure changes. They offer the ultimate in comfort and safety at a higher price point.
Both are excellent upgrades that prevent scalding.
Can I replace just the shower valve cartridge?
Yes, in many cases, you can solve issues like drips or a stiff handle by simply replacing the shower valve cartridge. This internal component controls water flow and temperature and is often the first part to wear out. It's a much simpler and less invasive repair than replacing the entire valve body.
The key is to find an exact match for your valve's brand and model, as cartridges are not interchangeable. Take the old one to a plumbing supply store to ensure you get the right part.
A full shower valve replacement is the better choice if the valve body itself is corroded, if you're upgrading from an old two-handle system, or if you want to install a different type of valve (like a thermostatic one).
Conclusion: When to Call a Professional
While a shower valve replacement can be a DIY project, it's important to know when to call a professional. Unexpected issues like corroded pipes or the need for soldering can make the job complex. A mistake can lead to costly water damage behind your walls, turning a weekend project into a major repair.
If you encounter complications, lack the proper tools, or simply feel uncomfortable with any step, calling an expert is the smart choice. The risk of a poorly installed valve and subsequent leaks is not worth it.
At Valley Pacific Mechanical Contracting, we offer headache-free plumbing solutions backed by over 30 years of experience. Our licensed plumbers serve homeowners throughout Langley, Mission, Maple Ridge, Pitt Meadows, and Coquitlam, ensuring your shower valve replacement is done right the first time. We have the expertise and specialized tools to handle any challenge, giving you peace of mind.
We also provide 24/7 emergency service in Langley, Mission, and Maple Ridge for urgent plumbing problems. Don't let a faulty shower valve disrupt your home. Contact us for a professional assessment and reliable service.
More info about our plumbing services


